
Ok so here goes....
First things first...find fabric that you are going to love to death and that wont clash with every piece of linen you own. Then measure and calculate the dimensions of the headboard you want and make sure your fabric and batting is big enough to wrap around and staple to the plywood.
1. Needed Materials:

Plywood, batting and thick foam {got at the foam store in Santa Rosa - $60}

Staple gun, staples, spray adhesive, 1-2 french cleats {these you can get at Home Depot -$9 ea.}

Get a studly hubster to trim down the plywood to your desired size. I would take a measuring tape to your bed and see what you like best. I went pretty big cuz I wanted it to be kinda dramatic since our walls are plain and our bed in simple.


Spray the ply wood with your spray adhesive, generously.

Place the plywood {adhesive side up} and place the thick foam on top.
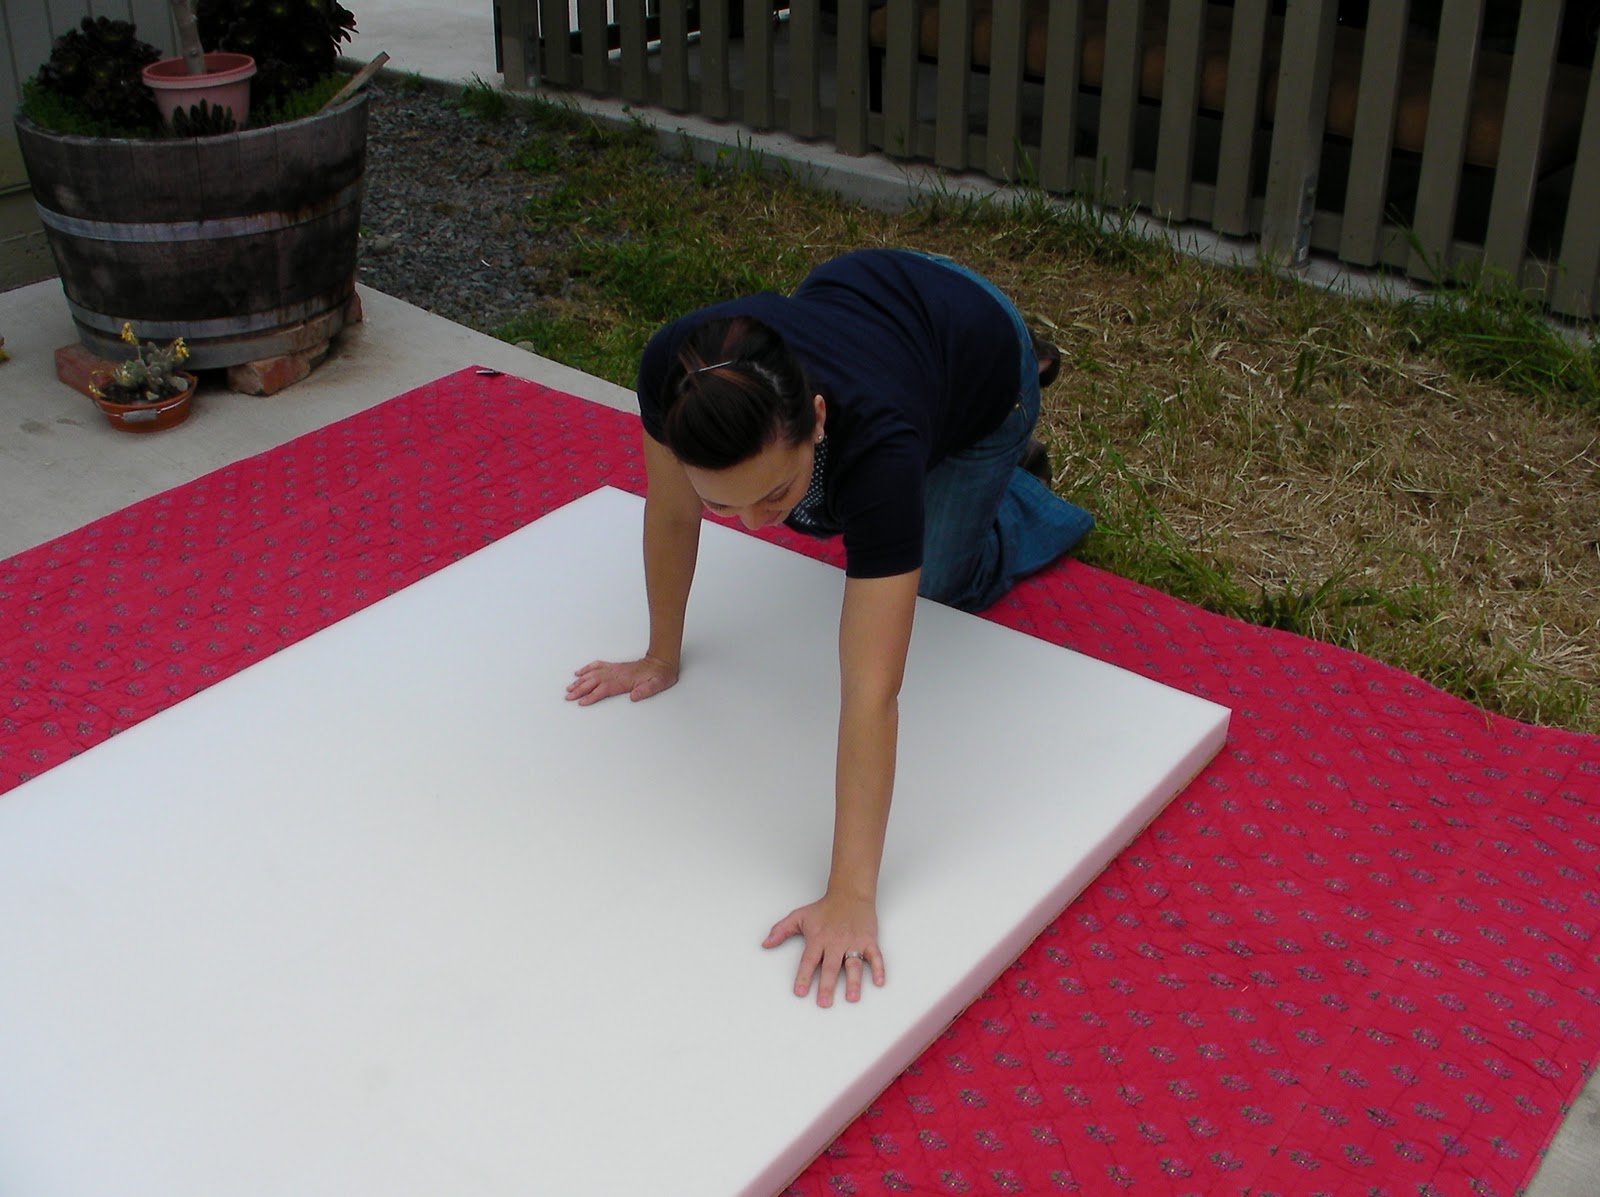
Press firmly to make sure it really sticks.
You may at this point need to trim down your foam. I had the foam cut to the side I wanted and then cut the plywood to match. Therefore no trimming was needed.

Pick up the plywood/foam and set aside. Lay down the batting and lay the plywood/foam foam side down on top of the batting.

Staple away making sure everything is pretty tight. Make the corners as pretty as possible so it wont look bulky.

Trim any access batting


Fabric...you may want to iron it so that there are no permanent wrinkles.
Lay down your fabric and if you have an intricate design be sure to place it in a way that the design will be even and se-metrical. This was a tad tedious, a little to the left a smidge to the right...
Staple fabric over the plywood/foam/batting

Once again making nice corners


Ta-da!!

Install the french cleats per the packaged instructions {top part on headboard}

{bottom part on wall}


{we put two french cleats up although you can probably get away with one}
Finished product!

Have fun with your headboard Lizette and please share your finished product with us!

9 comments:
that looks really good! all the chit chat about popcorn prompted me to have dustin go get some last night:)
Ive been wanting to do this for so long since we are just mattress and box spring on metal wheels! I want to know how to add the tufted buttons or whatever those pretty little things are called!
looks beautiful juli!
Zack *loves* it when you call Kit your hubster. I think he fears I will start calling him my little Zacky hubster.
Wow, that project is right up my alley. Good job!
great job
Bobby
My husband and I did the same project earlier this year. We actually used the same materials as you, except we used different fabric and a different board (pet board). In the next few weeks, I'm going to finish it by tufting with 3 buttons.
I love the fabric on yours!
Where is that fabric from?
Haha! Every time I see plywood I'm thinking new paipo board (bodyboard)! But that's just me. Nice project! Thanks for sharing.
Danielle - the fabric is made by Anna Marie Horner and its called loves me loves me not.. Somethin like that. I got it on a fabric website called sewmamasew.com.
Post a Comment